The boilerplate supports multiple authentication methods:
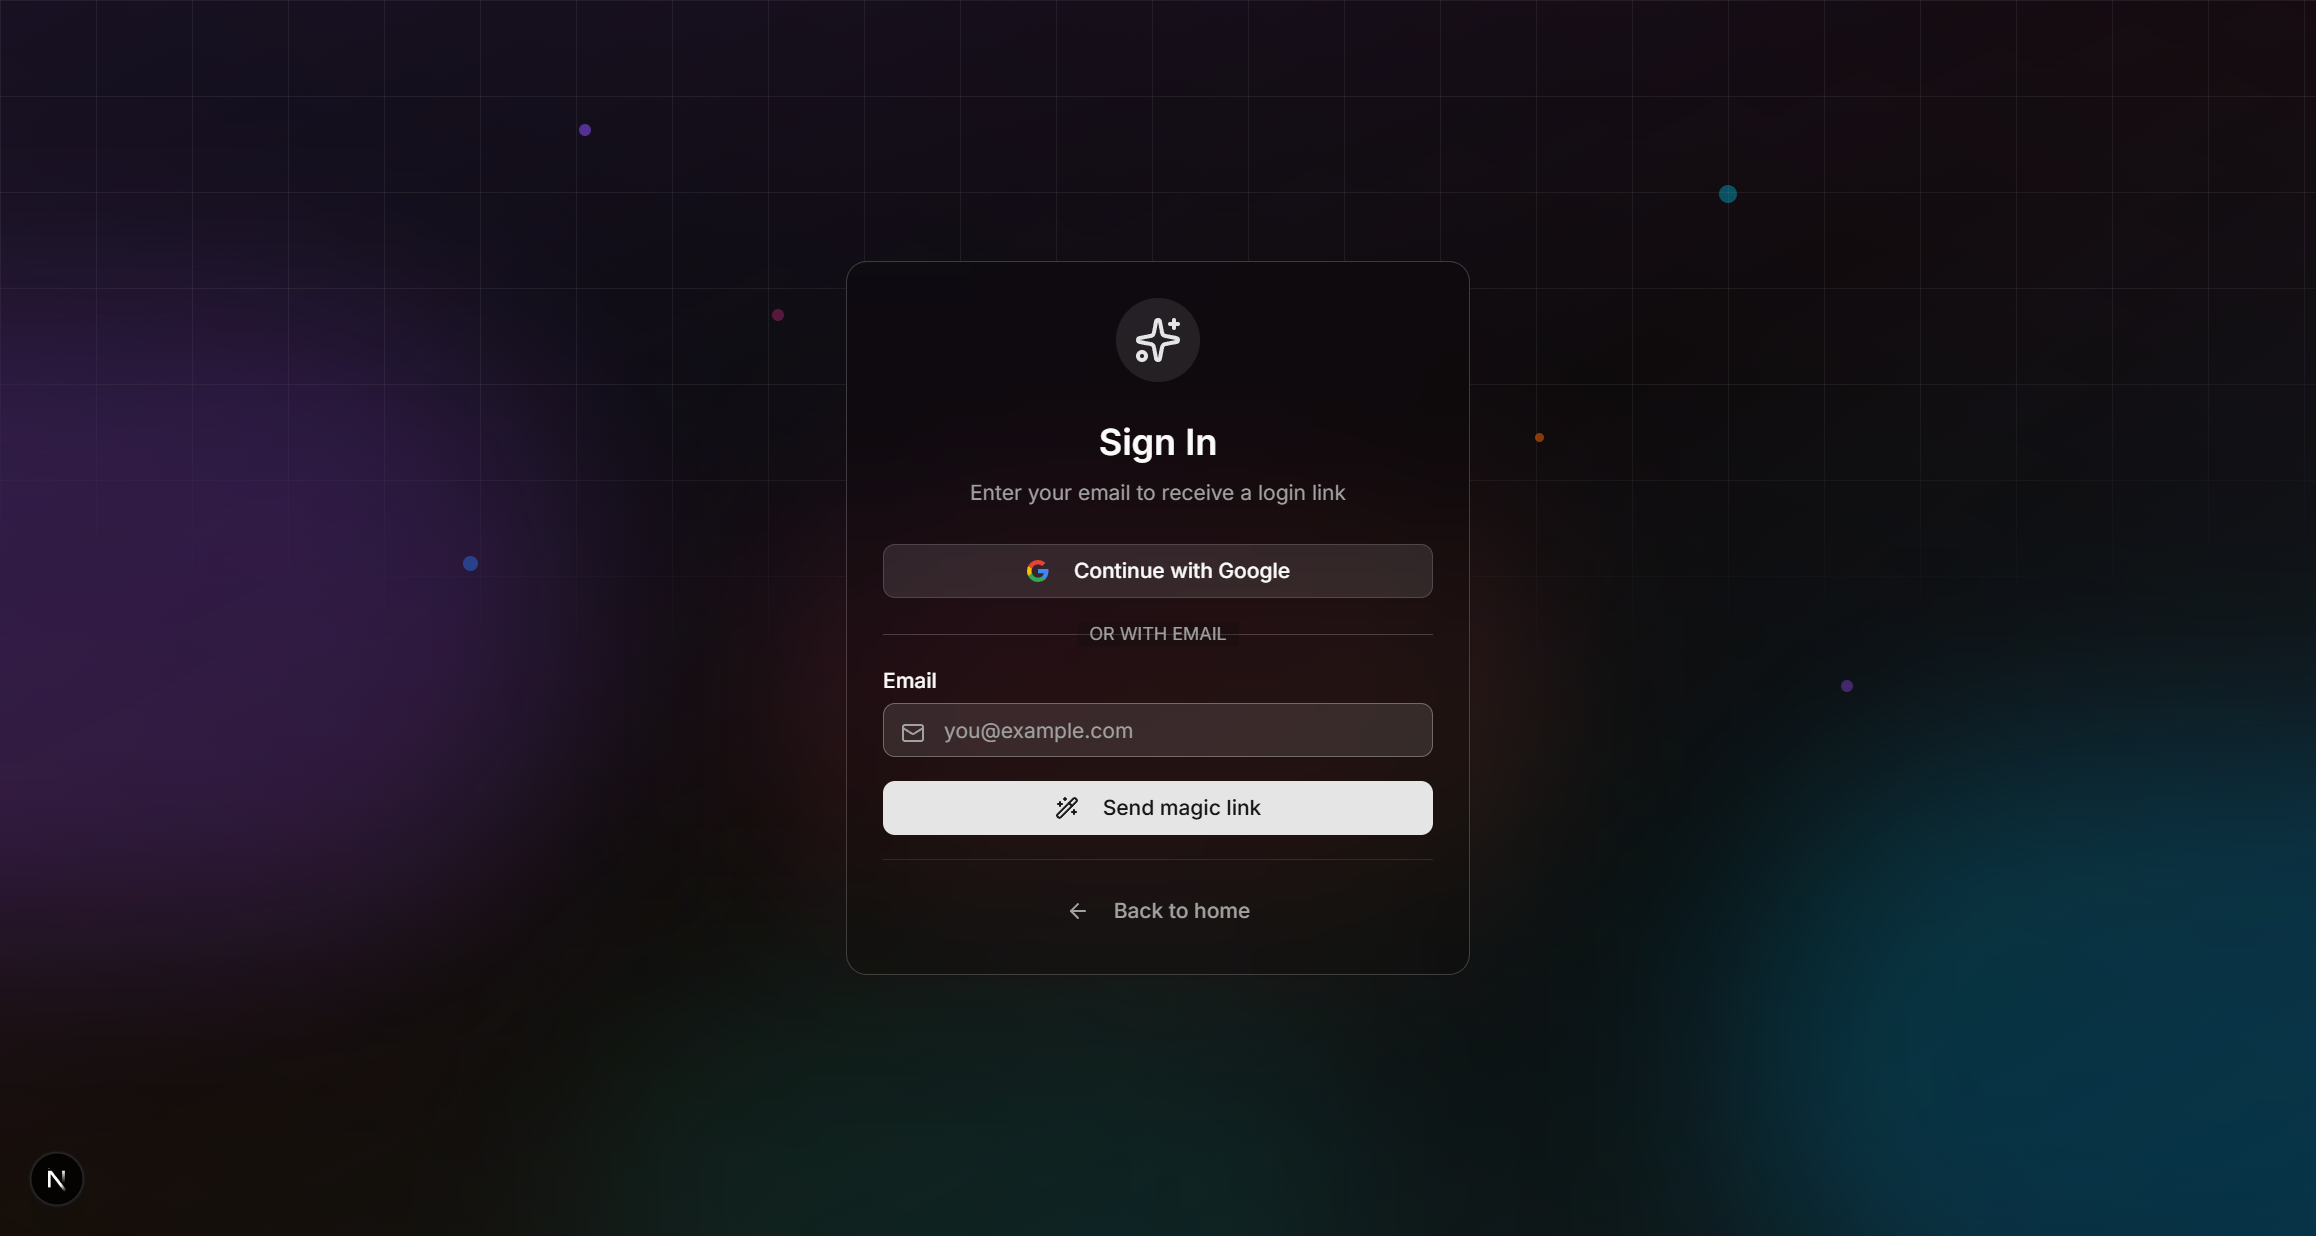
Login page with magic link and OAuth providers
Magic Links + OTP Code
A single sign-in request produces two equivalent paths — a clickable link and a one-time code (default 6 digits, configurable 6–10 via OTP_LENGTH) — so users who request on one device (desktop) and open the email on another (mobile) never lose the session. The email body shows the code prominently above the button; the success screen in the original tab includes an OTP input so users can type the code back without context-switching.
-
User enters their email
On the login page, the user submits their email address. The login button reads "Continue with email" (i18n key
auth.login.sendMagicLink) — intentionally jargon-free. -
API sends link and code
The
/api/auth/magic-linkendpoint calls Supabaseadmin.generateLink({ type: 'magiclink' }). The response carries bothproperties.action_linkANDproperties.email_otp. We surface both: the link goes into the email button, the code into a prominent monospace block above it. The email is sent through the active provider (Brevo / Mailjet) using the locale-appropriate template (FR/EN). -
Success screen on the original tab
The form switches to a "Check your inbox" view that shows the email address the link was sent to, an OTP input (numeric,
autoComplete="one-time-code", dynamicmaxLength/patternbased on OTP_LENGTH), a "Wrong email?" back-button, a spam-folder reminder, and a "Resend" button with a 30-second cooldown countdown. -
Path A — user clicks the link
The link points to
/[locale]/callback?token_hash=…&type=magiclink. The callback validates the OTP type against an allowlist (prevents token-type-confusion attacks), callssupabase.auth.verifyOtp, re-checks the prelaunch allowlist (belt-and-suspenders), logs the login event, and redirects to the sanitizedredirectTo. -
Path B — user types the code
The OTP input submits to
POST /api/auth/verify-otp(apiSecurity.public()+strictrate limit). The endpoint Zod-validates{ email, token, locale, redirectTo }(regex built dynamically fromappConfig.auth.otpLength), callssupabase.auth.verifyOtp({ type: 'email', email, token }), mirrors the callback's prelaunch gate and login logging, then returns the resolved redirect target as JSON. The client does a full reload so middleware re-reads the freshly-issued session cookie. On failure: generic "Invalid or expired code" — never confirms whether the email is registered (no enumeration vector). -
Cross-tab auto-redirect
While the success screen is open, the client polls
supabase.auth.getUser()every 4 seconds (paused viadocument.visibilityStatewhen the tab is backgrounded). If the user clicks the email link in a different tab, that tab's callback route sets the auth cookie — cookies are shared per origin, so the original tab's next poll sees the user and auto-redirects. No service worker, no broadcast channel, no extra dependency.
Post-event routing & B2B workspace requirement
When the sanitized redirectTo is the default /private-dashboard (typically because the user logged in without an explicit destination), the callback consults isWorkspaceManager(user.id) from lib/permissions/check.ts and swaps to /org-dashboard if the user owns or admins at least one workspace. Explicit non-default targets (e.g. /checkout coming from the pricing flow) flow through untouched. The same swap applies to the OAuth path and the OTP-code path — one helper, three call sites, in lock-step with the /org-dashboard layout gate (role_slug IN ('owner', 'admin')).
In B2B mode (appConfig.businessModel === 'b2b'), subscription billing must attach to a workspace account. The happy path auto-creates that workspace during login/checkout bootstrap through ensureWorkspaceForUser(userId, t('auth.defaultWorkspaceName')). The helper is wired at five sites: the magic-link callback, the OAuth callback, POST /api/auth/verify-otp, the /checkout Server Component, and the free-plan path through /api/billing/subscribe-free (the route delegates to subscribeToFreePlan in core/billing/free-plan.ts, which calls ensureWorkspaceForUser). The legacy manual page /[locale]/onboarding/workspace still exists as a recovery path when bootstrap fails.
The unified purchase funnel is /pricing → /login → /checkout → Stripe or subscribe-free → /checkout/success → /onboarding (if needed) → dashboard. In B2B, login and checkout call the workspace bootstrap before payment, then the dashboard target becomes /org-dashboard for workspace owners/admins. Defense-in-depth still exists: /api/billing/checkout returns 400 WORKSPACE_REQUIRED for personal-account subscription attempts, and /api/billing/subscribe-free resolves the workspace in B2B.
Marketing shell authentication state
The public marketing shell is intentionally anonymous-first. It renders static HTML, then MarketingAuthProvider fetches GET /api/auth/me once after hydration to update the navbar, account dropdown, workspace links, and command palette. This avoids calling getUser() from the marketing layout, which would make every public page dynamic.
/api/auth/me validates the current Supabase session with server-side getUser(), reads the minimal marketing auth context from core/accounts/queries.ts, and returns only sanitized display fields. The route is read-only, cache-disabled with Cache-Control: private, no-store, and uses the relaxed 100/min rate-limit tier so normal page navigation does not trip the limiter.
Authenticated visitors may briefly see the anonymous Login link before hydration finishes. Clicking it is still safe: the existing auth-route redirect sends already-authenticated users to their dashboard.
Configuring the code length (OTP_LENGTH)
The number of digits in the code is configurable via the OTP_LENGTH environment variable. Supabase Auth itself supports 6 to 10 digits (set in Authentication → Email OTP length in the Supabase dashboard); the env var here tells our UI/API how many digits to expect.
# .env.local — must match Supabase Auth → Email OTP length
OTP_LENGTH=6- Server-only — no
NEXT_PUBLIC_prefix. The login page (Server Component) readsappConfig.auth.otpLengthand passes the resolved number to the client form as a prop. The client never readsprocess.envdirectly. - Validated at startup —
lib/env.tsusesz.coerce.number().int().min(6).max(10).default(6). Bad values fail boot, not individual requests. - Single source of truth —
config/app.tsexposesappConfig.auth.otpLength; nothing readsprocess.env.OTP_LENGTHoutsidelib/env.ts/config/app.ts. The regex in/api/auth/verify-otp, themaxLength+patternon the OTP input, and the dynamic placeholder all derive from this value. - Operator caveat — a mismatch between
OTP_LENGTHand the Supabase setting makes every verify fail. To change: update both, then redeploy.
OAuth Providers
The boilerplate ships with a config-driven OAuth catalog at lib/auth/oauth-providers.tsx. The login page reads appConfig.auth.oauthProviders (derived from NEXT_PUBLIC_OAUTH_PROVIDERS) and renders one branded button per enabled provider — no hardcoded buttons in the form.
Dynamic Provider Configuration
Set the providers you want surfaced on the login page via a comma-separated env var:
# Comma-separated, case-insensitive. Order matters (top-to-bottom render order).
NEXT_PUBLIC_OAUTH_PROVIDERS=google,github,appleSupabase has no public runtime API for listing which providers are enabled in a project, so the button list cannot auto-sync with the dashboard. To add a provider:
- Enable it in your Supabase Auth dashboard (add Client ID + Secret).
- Append its id to
NEXT_PUBLIC_OAUTH_PROVIDERSand redeploy.
Unknown ids in the env var are silently dropped at render time (getOAuthProviderEntries() validates each id against the catalog). The NEXT_PUBLIC_ prefix is intentional: the list is purely a UI hint, so leaking it to the browser is harmless — the actual provider Client IDs and Secrets stay in Supabase.
Supported Provider Ids
The catalog covers every id accepted by the installed @supabase/auth-js Provider type union (19 total). Use these exact strings — anything else is dropped:
| Id (env value) | Display label | Notes |
|---|---|---|
apple | Apple | Apple Sign In |
azure | Microsoft | Azure AD / Entra ID |
bitbucket | Bitbucket | Atlassian Bitbucket |
discord | Discord | — |
facebook | Meta / Facebook | |
figma | Figma | — |
github | GitHub | — |
gitlab | GitLab | — |
google | Default in .env.example | |
kakao | Kakao | Korean chat platform |
keycloak | Keycloak | Self-hosted / generic OIDC |
linkedin | LinkedIn (legacy) | Deprecated by LinkedIn — use linkedin_oidc |
linkedin_oidc | Current LinkedIn OIDC integration | |
notion | Notion | — |
slack | Slack (legacy) | Deprecated — use slack_oidc |
slack_oidc | Slack | Current Slack OIDC integration |
spotify | Spotify | — |
twitch | Twitch | — |
twitter | X (Twitter) | OAuth 1.0a |
Leaving NEXT_PUBLIC_OAUTH_PROVIDERS= empty renders the magic-link form only — no buttons and no divider.
Extending the Catalog
To add a provider that isn't in the SDK's Provider union yet (e.g. a future addition or a custom branded icon), edit lib/auth/oauth-providers.tsx: define an SVG icon constant and add a row to OAUTH_PROVIDER_CATALOG. TypeScript will enforce that the id matches an SDK-accepted provider string — signInWithOAuth({ provider }) won't accept anything else.
Google OAuth Configuration
Follow these steps to enable Google Sign-In for your application:
Step 1: Create a Google Cloud Project
- Go to Google Cloud Console
- Click "Select a project" → "New Project"
- Enter a project name (e.g., "My SaaS App") and click "Create"
- Wait for the project to be created, then select it
Step 2: Configure OAuth Consent Screen
- In the left sidebar, navigate to "APIs & Services" → "OAuth consent screen"
- Choose "External" (unless you have a Google Workspace organization)
- Fill in the required fields:
- App name: Your application name
- User support email: Your email address
- App logo: Upload your logo (optional)
- App domain: Your production domain (e.g.,
myapp.com) - Developer contact: Your email address
- Click "Save and Continue"
- On the "Scopes" page, click "Add or Remove Scopes"
- Select the following scopes:
.../auth/userinfo.email.../auth/userinfo.profileopenid
- Click "Save and Continue"
- Add test users if needed (for development), then click "Save and Continue"
Step 3: Create OAuth Credentials
- Go to "APIs & Services" → "Credentials"
- Click "+ Create Credentials" → "OAuth client ID"
- Select "Web application" as the application type
- Enter a name (e.g., "Supabase Auth")
- Under "Authorized JavaScript origins", add:
https://<your-project-ref>.supabase.co
- Under "Authorized redirect URIs", add:
https://<your-project-ref>.supabase.co/auth/v1/callback
- Click "Create"
- Copy the Client ID and Client Secret - you'll need these for Supabase
<your-project-ref> with your actual Supabase project reference (found in your Supabase dashboard URL).
Step 4: Configure Supabase
- Go to your Supabase Dashboard
- Select your project
- Navigate to "Authentication" → "Providers"
- Find "Google" in the list and click to expand
- Toggle "Enable Sign in with Google" to ON
- Enter the Client ID and Client Secret from Google
- Click "Save"
Step 5: Implement in Your App
No code changes needed — the dynamic OAuth catalog handles rendering. After enabling Google in the Supabase dashboard, ensure google is present in NEXT_PUBLIC_OAUTH_PROVIDERS (it is by default in .env.example) and the branded Google button appears on the login page. On the server side, the callback route at app/[locale]/(auth)/callback/route.ts exchanges the authorization code for a session and redirects the user to the dashboard.
Step 6: Handle the Callback
The callback route at app/[locale]/(auth)/callback/route.ts receives the authorization code from the OAuth provider, exchanges it for a Supabase session using exchangeCodeForSession(), and redirects the user to their dashboard. If the exchange fails, the user is redirected back to the login page with an error message.
Production Checklist
- Publish your OAuth consent screen (move from "Testing" to "Production")
- Add your production domain to authorized origins
- Verify your domain ownership in Google Search Console
- Submit for Google verification if requesting sensitive scopes
GitHub OAuth Configuration
GitHub OAuth is another popular option for developer-focused applications:
Step 1: Create GitHub OAuth App
- Go to GitHub Developer Settings
- Click "New OAuth App"
- Fill in the required fields:
- Application name: Your app name
- Homepage URL:
https://yourapp.com - Authorization callback URL:
https://<your-project-ref>.supabase.co/auth/v1/callback
- Click "Register application"
- Click "Generate a new client secret"
- Copy both the Client ID and Client Secret
Step 2: Configure in Supabase
- Go to "Authentication" → "Providers" in Supabase
- Find "GitHub" and toggle it ON
- Paste your Client ID and Client Secret
- Click "Save"
Implement GitHub Sign-In
Add github to NEXT_PUBLIC_OAUTH_PROVIDERS (e.g. google,github) and redeploy — the branded GitHub button is rendered automatically by the dynamic catalog. No frontend code changes required.
Other OAuth Providers
Supabase supports many other providers. The configuration process is similar: enable in the dashboard, then append the provider id to NEXT_PUBLIC_OAUTH_PROVIDERS. See the supported ids table above for exact env values.
| Provider | Console URL | Callback URL Format |
|---|---|---|
| Apple | Apple Developer | https://<ref>.supabase.co/auth/v1/callback |
| Discord | Discord Developers | https://<ref>.supabase.co/auth/v1/callback |
| Microsoft | Azure Portal | https://<ref>.supabase.co/auth/v1/callback |
| Twitter/X | Twitter Developer | https://<ref>.supabase.co/auth/v1/callback |
| LinkedIn Developers | https://<ref>.supabase.co/auth/v1/callback |
|
| Meta Developers | https://<ref>.supabase.co/auth/v1/callback |
OAuth Troubleshooting
| Error | Cause | Solution |
|---|---|---|
redirect_uri_mismatch |
Callback URL doesn't match | Ensure the callback URL in your provider matches exactly: https://<ref>.supabase.co/auth/v1/callback |
access_denied |
User denied consent | User clicked "Deny" - handle gracefully in your UI |
invalid_client |
Wrong credentials | Double-check your Client ID and Secret in Supabase |
popup_closed_by_user |
Popup was closed | User closed the popup - show a retry option |
| No email returned | Missing email scope | Add email scope to your OAuth configuration |
| CORS errors | Wrong origin configured | Add your domain to authorized JavaScript origins |
Advanced Auth Features
The authentication system includes several advanced features:
| Feature | Description |
|---|---|
| Direct Magic Link Verification | Custom callback handler bypasses Supabase's redirect flow for cleaner URLs. Verifies token_hash directly. |
| OAuth Account Linking | Automatically detects existing accounts with same email, merges OAuth data (avatar, name), cleans up duplicates. |
| Dashboard Access Control | Private dashboards (/private-dashboard, /org-dashboard, etc.) require an active plan or license. /checkout is intentionally not gated — the checkout-before-onboarding workflow lets users pay before completing their profile. The single onboarding gate lives in app/[locale]/(auth)/checkout/success/page.tsx. |
| Automatic Account Creation | Personal account auto-created on signup via the handle_new_user_account trigger on auth.users INSERT, ensuring users always have an account for billing. In B2B mode, a workspace account is auto-bootstrapped on the same signup flow via ensureWorkspaceForUser. |
Email Templates
All transactional emails support multi-language (FR/EN) through the active email provider:
- Magic Link - Custom templates with app branding
- Workspace Invitation - Includes inviter name, workspace name, role
- Contact Form - Admin notification + user confirmation
- Organization Deletion - Member notification before deletion
Email content uses getEmailTranslation() helper with dynamic app name from environment variable.